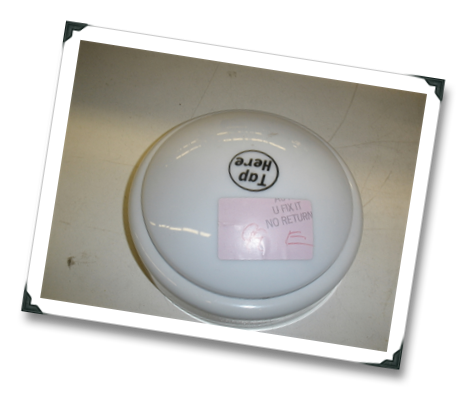
I've wired a
lamp and
wall sconce nightlight.
Each of these has touched on the how-to’s of electrical wiring.
This post will expand on those tutorials and explain why I am suggesting doing things a certain way (though I am not an electrician). I will probably write a later post on household wiring (hard wiring through the wall into the home’s electrical grid).
Here are the dets, folks!
**Always do these steps with lamp or wire UNPLUGGED!
Electrical Power Cords
Plug on one end, open wires on the other. If you’re going to wire your own lamp this is where you start!
Lamp cords are made of two wires within the same insulating sheath (plastic covering). Because of this, most lamp cords are also one color,
so which wire is “hot”?
Electricity and the “hot” wire
Being “Hot” signifies that “power”, electricity, is flowing through that line/wire from the outlet. The other wire is neutral (at ground potential and carrying electricity back to the outlet) and much safer.
The wires themselves are identical, which one becomes “hot” depends on the plug and it’s relationship to the outlet when plugged in.
There are a bunch of ways to tell which wire will be “hot”
- Most lamp cords “identify” the neutral wire with writing, ribbing, a ridge, or rough texture.
- On “polarized plugs” the wire leading from the wider prong of the plug is neutral.
When wiring up to a sconce (or any usually hard-wired lamp) the “hot” attaches to the black wire and neutral to white.
When wiring to a lamp socket, “hot” attaches to the brass screw or terminal, the neutral to the silver screw.
Does it matter which side is wired to hot?
Yes and No. The cord doesn’t care, the outlet doesn’t care, even the lamp doesn’t care. If you do it “wrong” there’s no real risk of fire… so why care?
You should connect the wires properly to avoid a pretty serious shock! The “hot” terminal connects to the “hot contact”, a small metal tab inside the lamp socket, and the neutral goes to the threaded base of the socket. If switched around, the socket or other metal parts of the lamp could become “hot” and shock you! It’s happened to me!
On non-polarized plugs (ones with equal width prongs) you can send electricity up the “neutral” wire just by plugging it in that way – the wire attached to the prong in the "hot" side of the outlet will be hot. I have some old lamp plugs like that; I usually don’t care, and just unplug these lamps when replacing bulbs.
Current (Amperage)
When buying bells and whistles for your electrical wiring (such as a switch), you’ll want to make sure you buy one rated for the voltage and current of the lamp/bulb.
Household voltage is 120V for homes in the USA.
We can use this to convert the wattage of your light bulb to amps!
Watts = Amps x Volts, so a 120W bulb will draw 1 amp on 120V. Since most switches are rated 3A or more, this isn’t a problem for most applications.
Wire Stripping
In order to wire your lamp, you’ll need to strip the end of the electrical cord.
1. Split the last two inches of the end of the cord.
2. Strip away ½" of the insulation on each wire.
I use a “wire stripper”, but
it can be done without one …
The inside of lamp cord is just a bundle of thin copper wires, be careful not to damage them when stripping .
Using a wire stripper
Wire strippers have a row of cutting edges in a variety of gauges (sizes). Use the right gauge for the wire you are stripping. (The gauge is usually printed on the cable - 18 is common). Self-adjusting strippers take out this guesswork by automatically selecting the proper position.
Place wire in the proper gauge spot, squeeze handle around wire and pull toward the end of the wire, the insulation should be cut from the wire and pulled off leaving the copper bundle intact.
Connecting wires
These wires should be
wrapped clockwise around the lamp socket terminal screws and tightened
OR
twisted clockwise together (called splicing) with the sconce wires and covered with wire caps.
Wire Caps
Wire caps (also called wire nuts) prevent your spliced wires from touching stuff, which can cause shorts and even fires. They also come in various gauges (sizes). For joining lamp cord with other similarly sized wires, I use big orange colored caps (join together #18 to #14 wire sizes). I'm probably using the wrong size - but it works!
Twist them clockwise onto the spliced wires. You don’t want to see any exposed copper!
If you are wiring a sconce to a plug (
like this), you’ll want a
pancake box.
The pancake box (metal open topped “box”, or cylinder, for sconces) attaches to (or inside) the wall, provides a place to attach the sconce (see the arrows pointing to the screw holes), and provides important safety security!
When you use wire caps properly (no exposed copper), and use a pancake box,
you are doing a good wiring job and greatly reducing your risk of problems.
Sorry for the LONG post – hope it helps at least one person! Let me know if I left anything out!!!

 Email Updates